
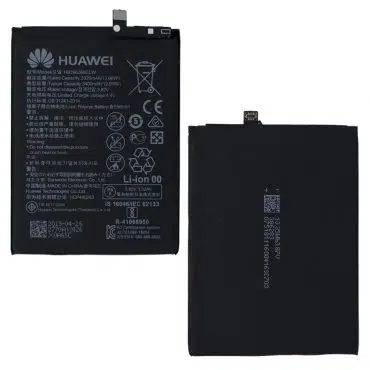
 Honor 10 Lite Battery Replacement - 100% Original HB396286ECW For HRY-AL00
 Subtotal: ₹1,199.00
Honor 10 Lite
Honor 10 Lite Display Replacement – How to Replace the Broken Combo
16
May
May
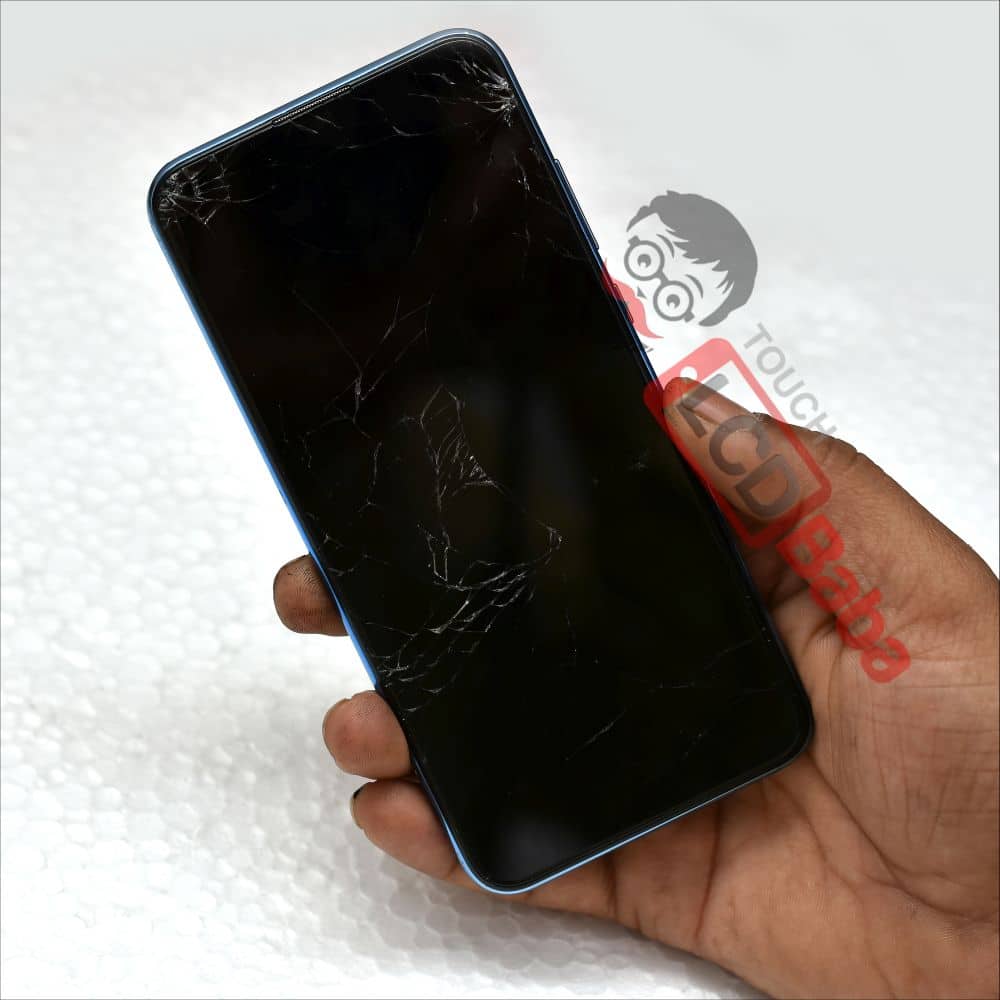
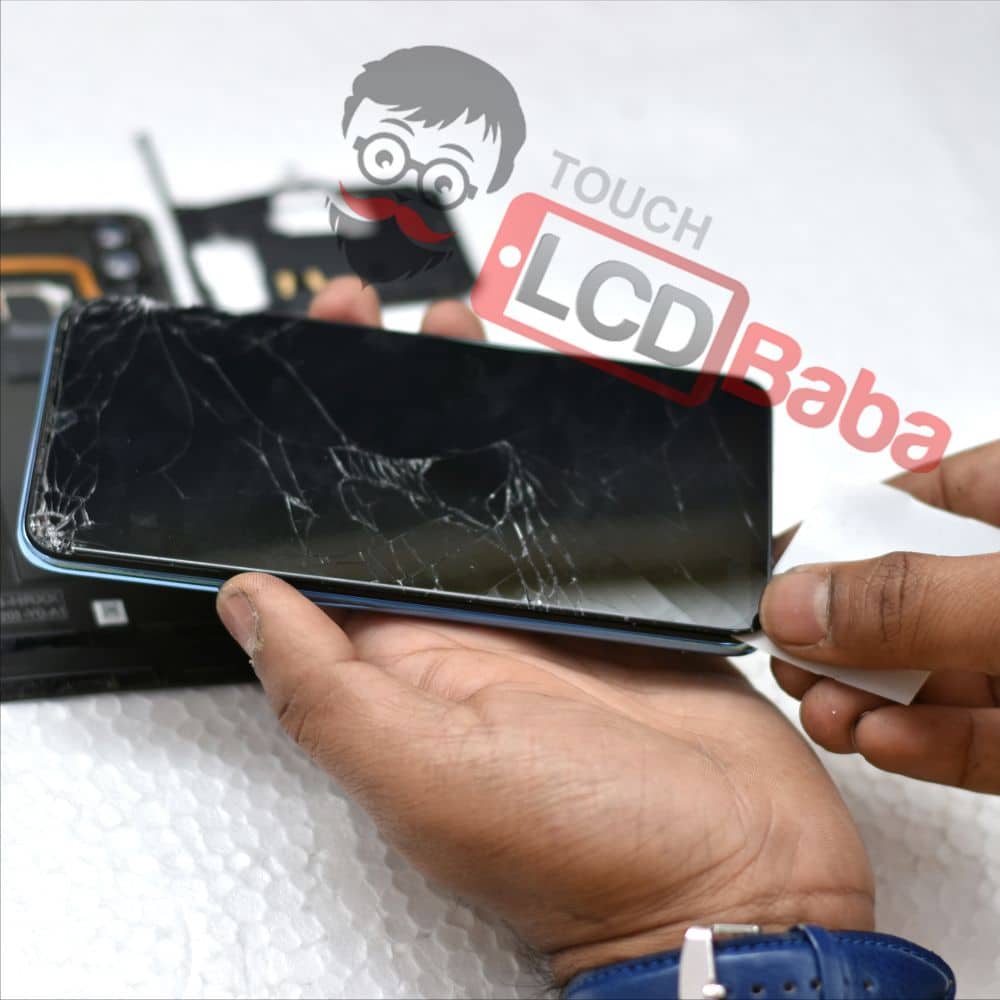
If you are using the Honor 10 Lite phone (Model Number HRY-AL00), It is very likely that you may end up damaging its display sooner or later. Accidental damage to Honor 10 Lite display is something you can’t avoid even If you are using a protective glass on it. Although the glass protects the screen to some extent yet Honor 10 Lite display can’t tolerate a harsh drop. You will be lucky If the phone gets dropped from 5-6 feet height and the display is still 100% safe. The model number of Honor 10 Lite is HRY-AL00
If you are not lucky, then touch screen glass will certainly get scratched and while It will continue to work for some time, you will need to replace it eventually. Honor 10 Lite combo replacement is the easiest and best way to go If you are dealing with broken glass or broken display or both. As Honor 10 Lite Display is a Combo (Display and touch are combined), you always need to replace the complete set of display and touch screen. This post will outline the necessary steps you need to take to replace the combo.
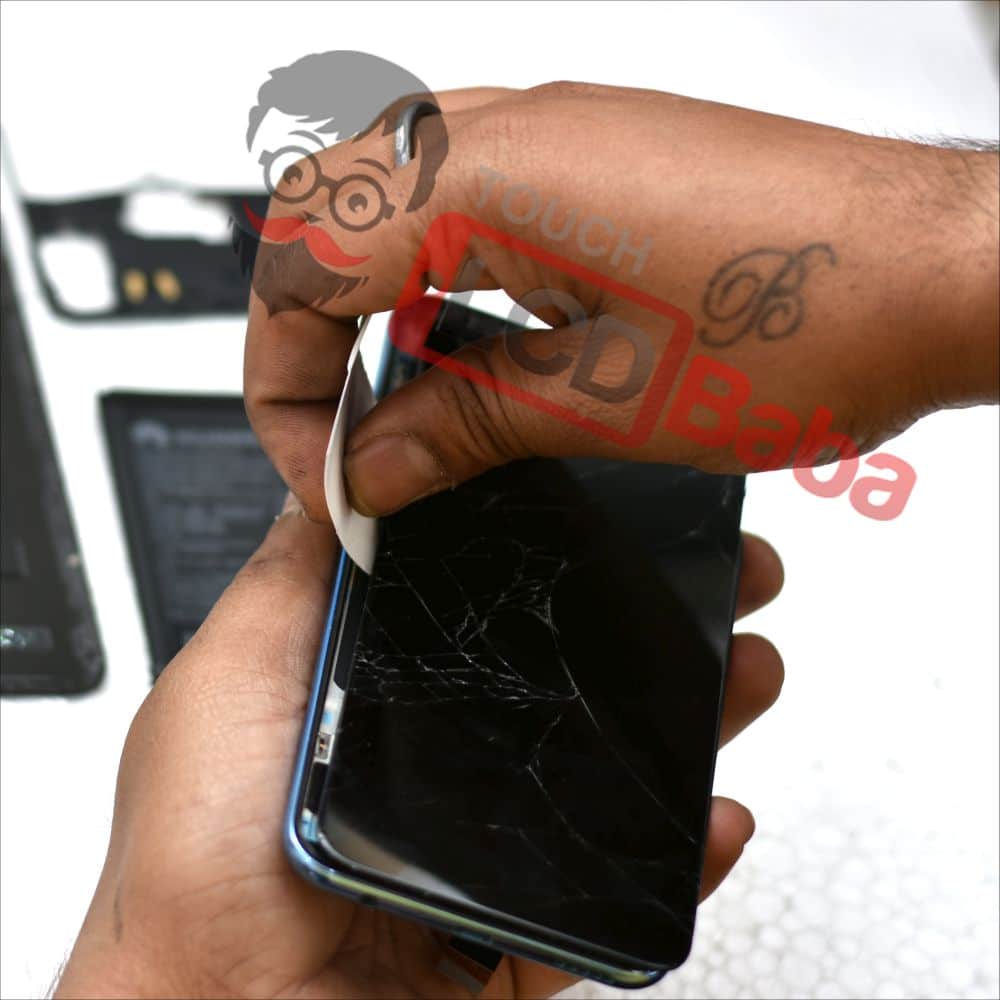
Don’t worry If you have a broken Honor 10 lite screen as you can easily fix a broken screen by replacing it. This step-by-step tutorial will give you a basic idea of how to replace the Honor 10 Lite combo. This is a broken Honor 10 Lite phone we repaired so we want to share all the steps we have taken to replace its display unit. This process is fast, easy, and works perfectly.

Step No. 1
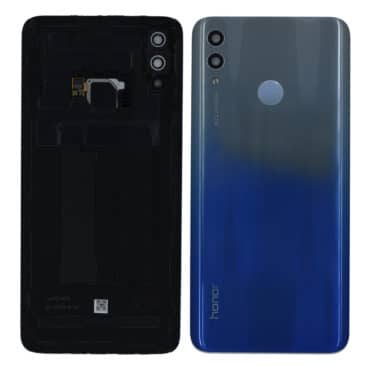
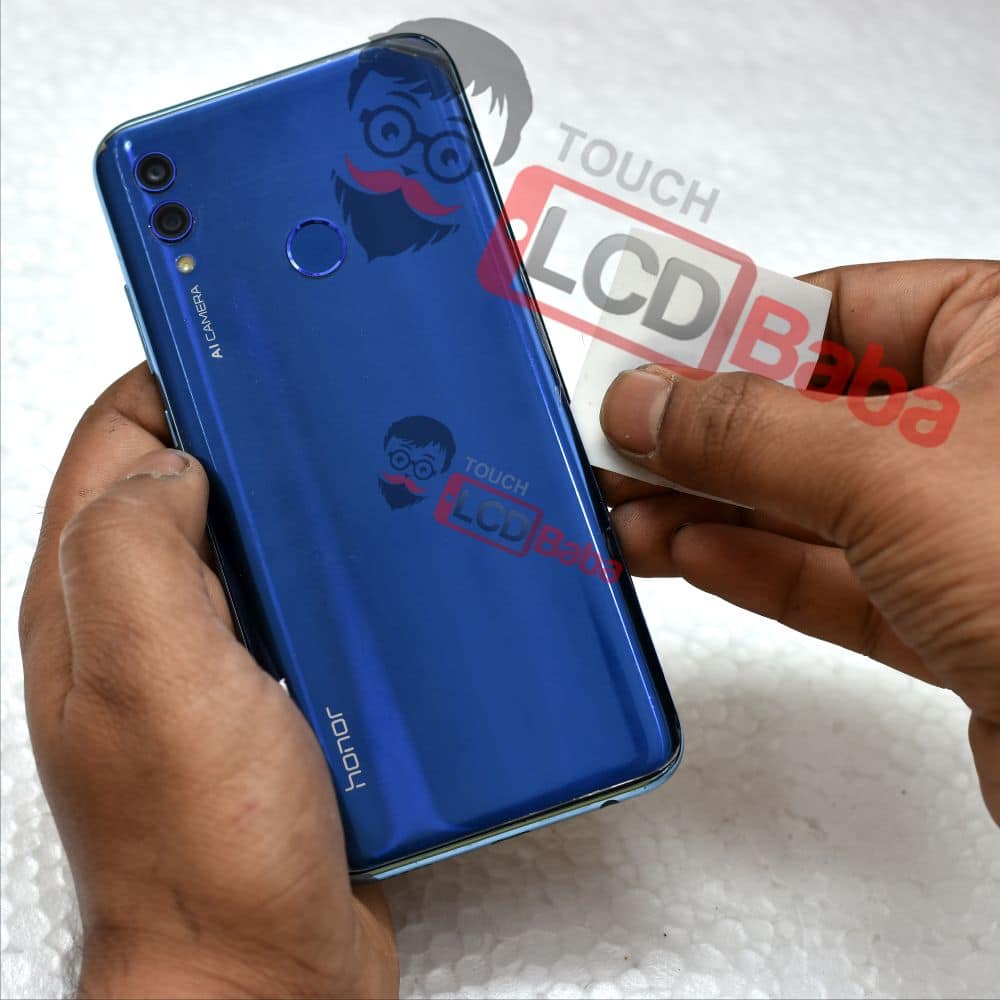
To replace a broken Honor 10 Lite combo, the first step will be opening the handset. Honor 10 Lite back glass is plastic made and It is pasted on the backside. So the first step will be taking out the Sim Outer (Sim Tray) and then blowing hot air on the back panel.
Here you need to make sure that you keep some distance between the back panel and the equipment you are using for hot air (A perfect alternative would be a normal Hair Dryer). Keep some distance as Honor 10 Lite battery back door is plastic made and If you keep the temperature high, the back glass can get puffed up and lose its shape. So keep some distance and heat evenly.
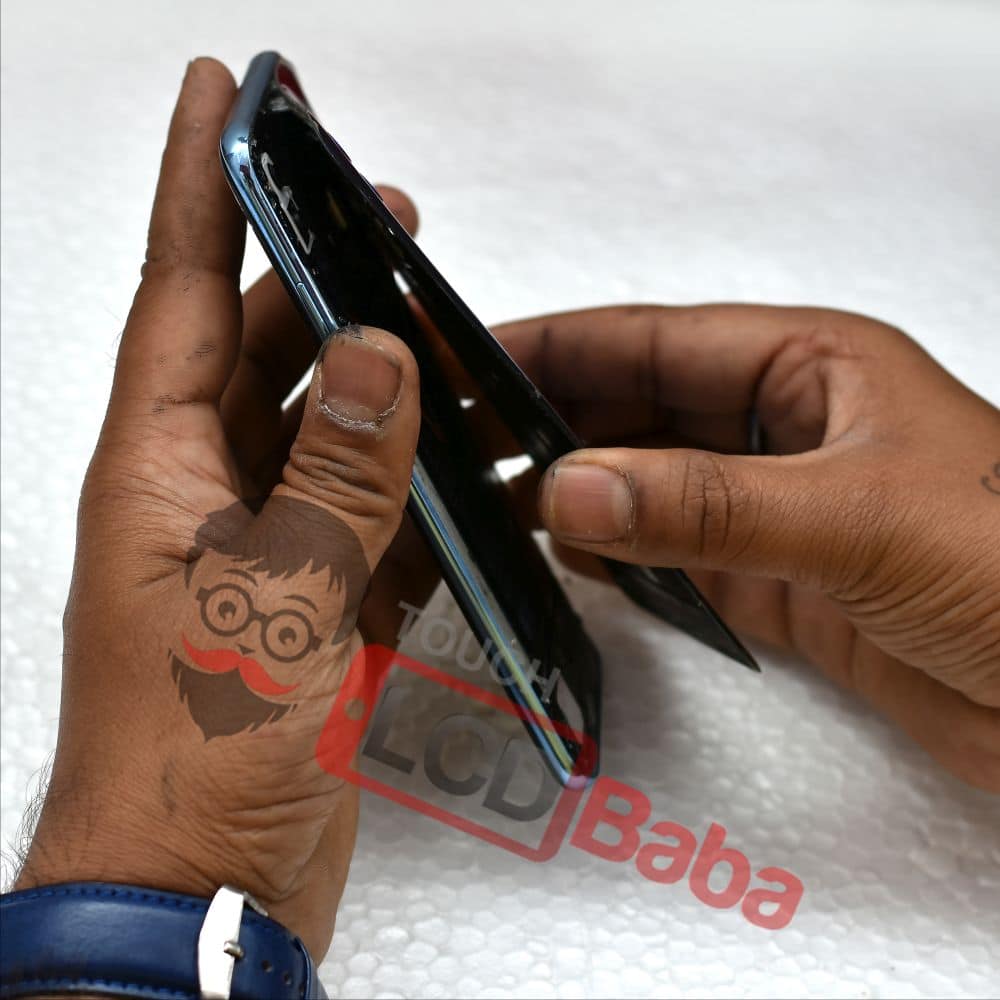
Then you need to make some space by using a sharp object and a perfect example would be using a plastic card (Plastic Playing Cards also work like charm). Cut the plastic card from the middle and try prying the back door from the sides. Once you are able to make some space in one place, the rest should be very easy to follow. Be gentle, hold the phone firmly, and DON’T insert the plastic card inside way too much. Keep it limited to the edges only.

Step No. 2
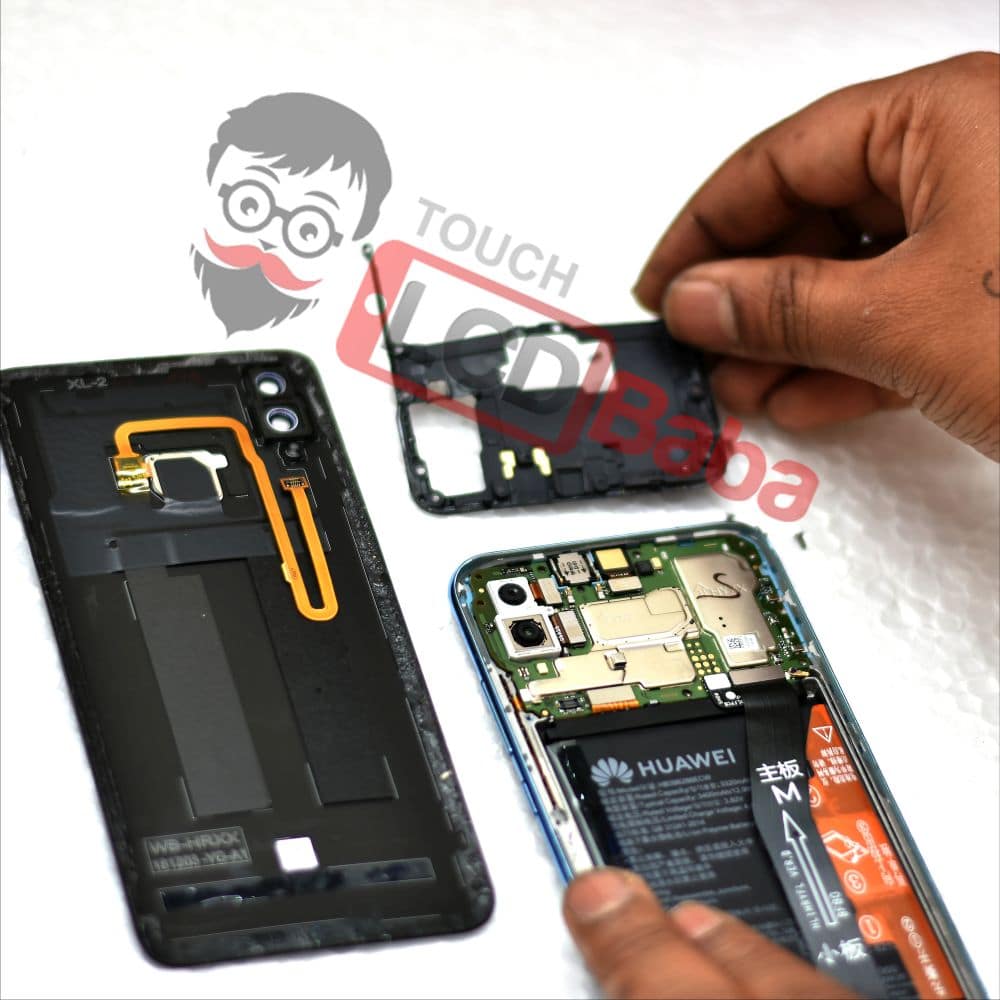
Remove the Back Panel Slowly and don’t pull it off. Because the fingerprint scanner cable is connected to the back panel so removing it in a rough manner will cut the cable off. Remove the back panel gently.
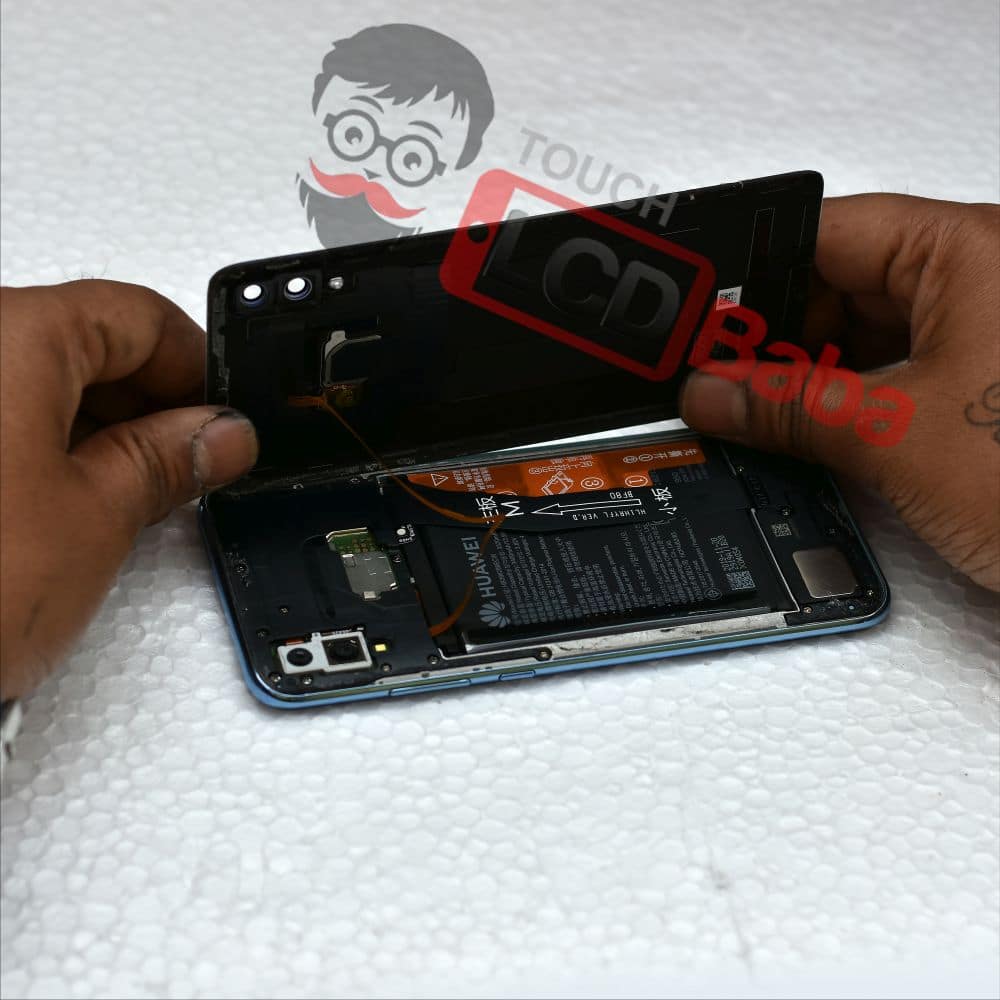
Now you need to depart the fingerprint scanner connection from the motherboard. So open the screws as necessary and depart the finger printer scanner. Open all the screws gently and keep in mind from where you are removing the screws and the size of screws can be different at different places. Later If you put the wrong screw in the wrong place, It can be harmful.
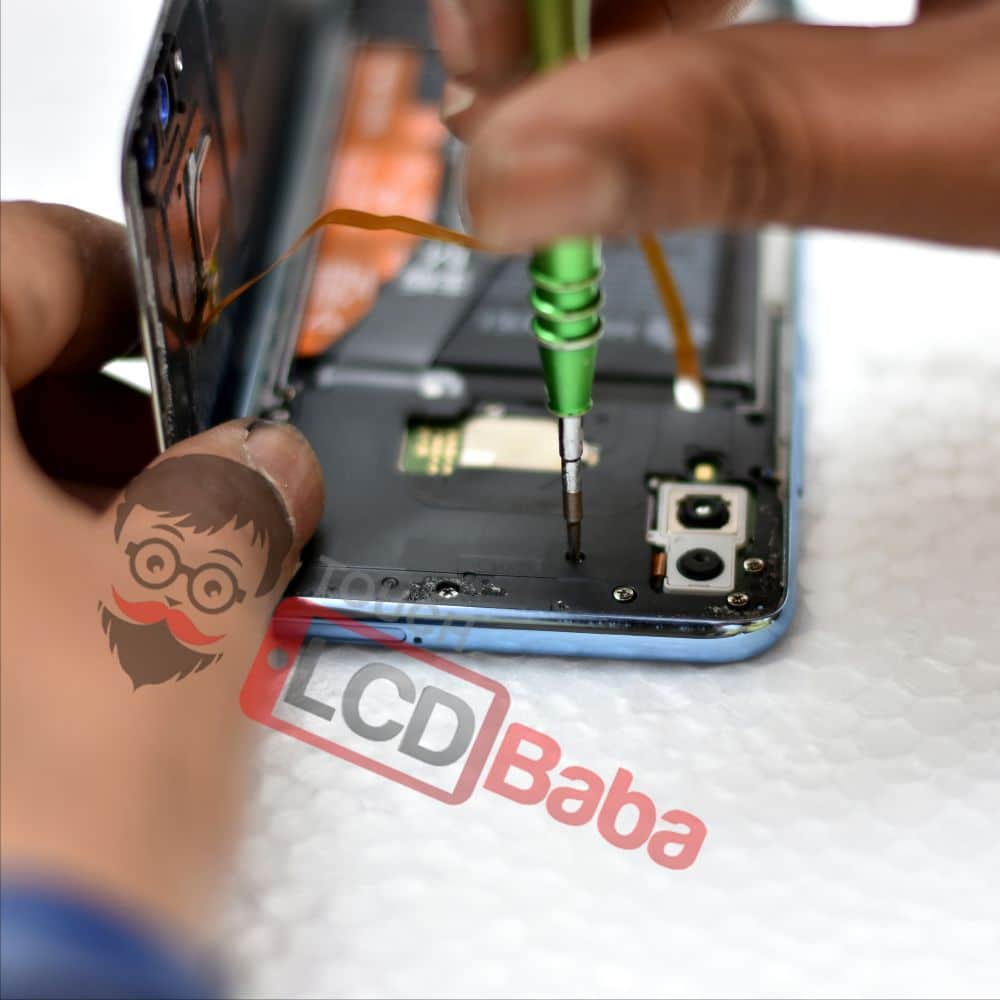
Step No. 3
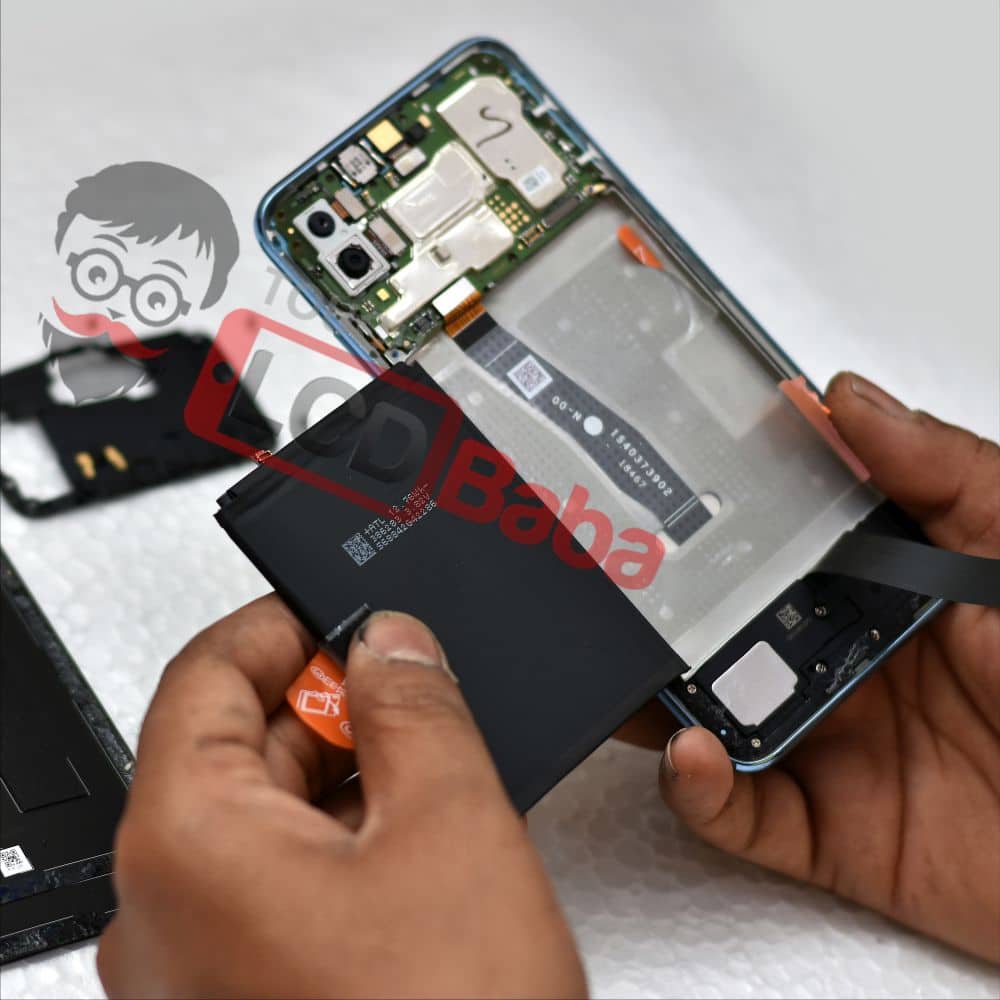
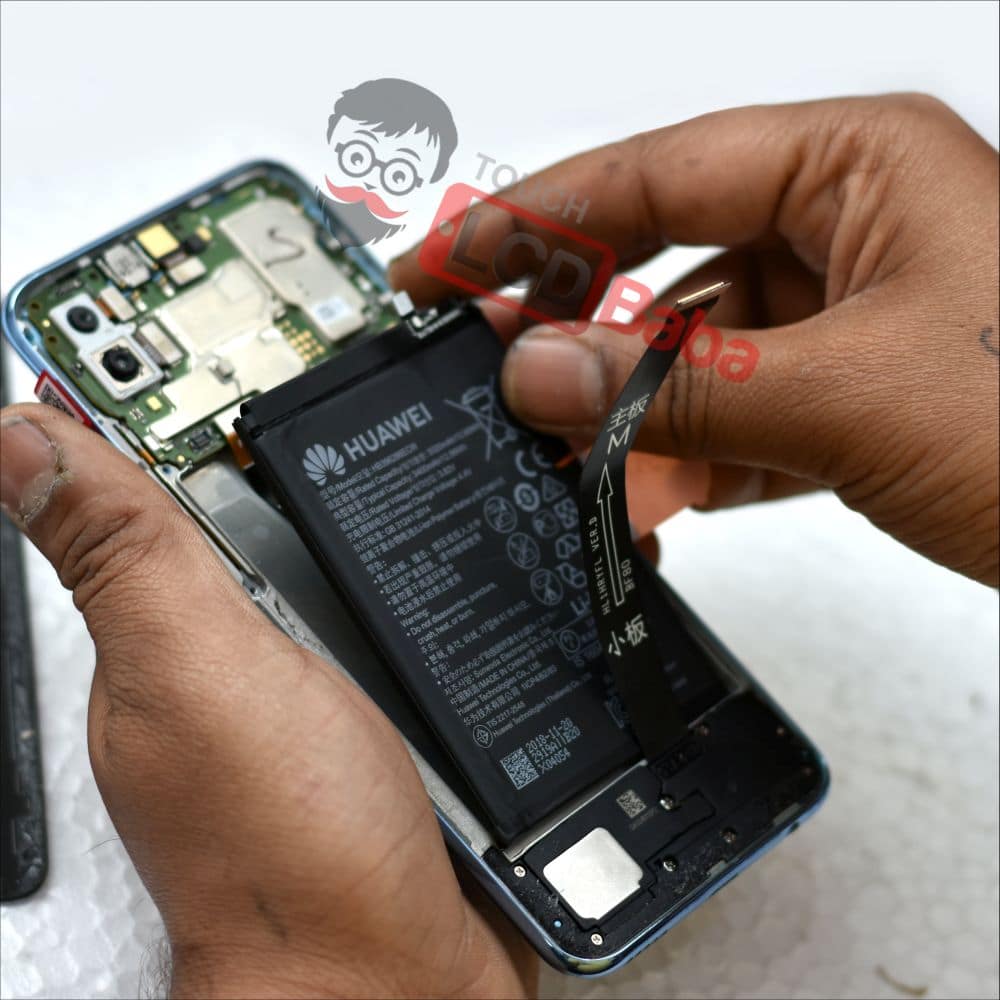
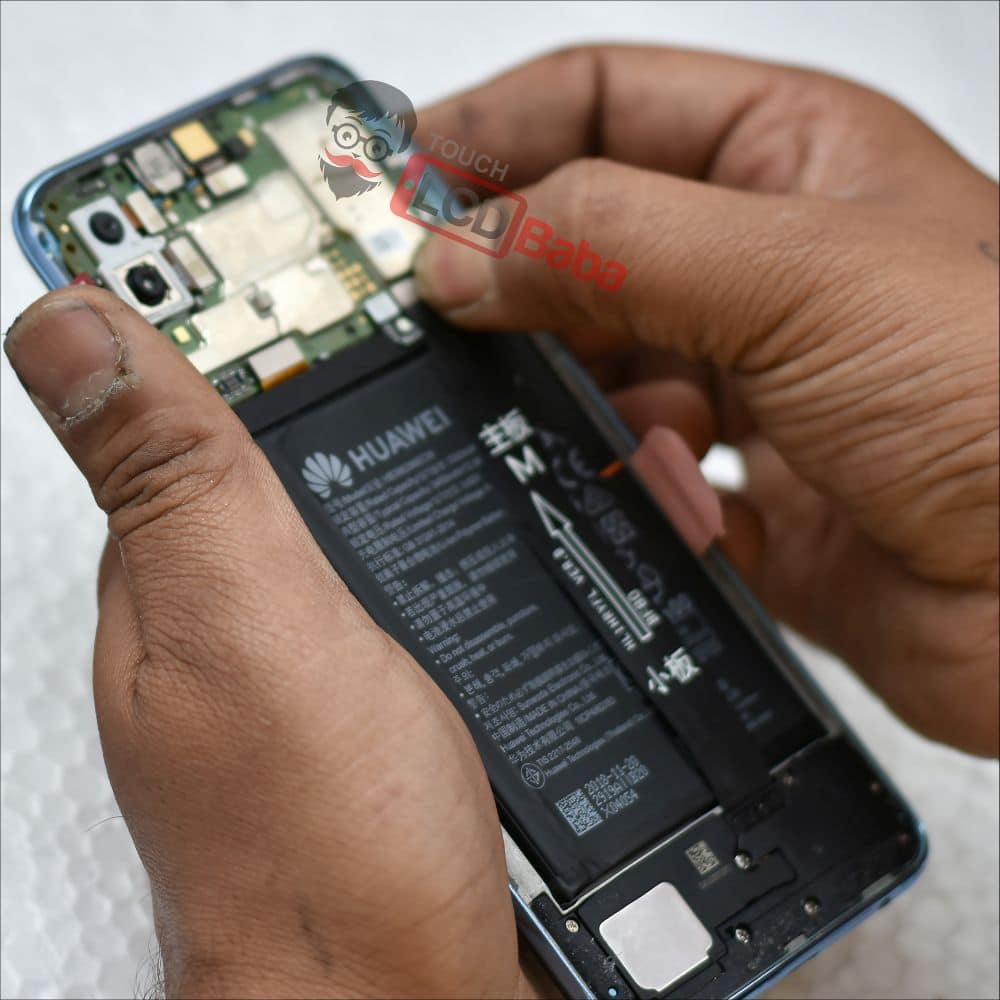
Now that you have departed the fingerprint scanner and the cover over the motherboard, now we are ready to proceed further. Now you need to remove the battery connection and actually remove its pasted battery. This is because the Honor 10 Lite Combo Flex is inserted under the battery. So disconnect the battery from the motherboard and remove it. Please note that removing the battery is a mandatory requirement to replace the Honor 10 Lite Combo.
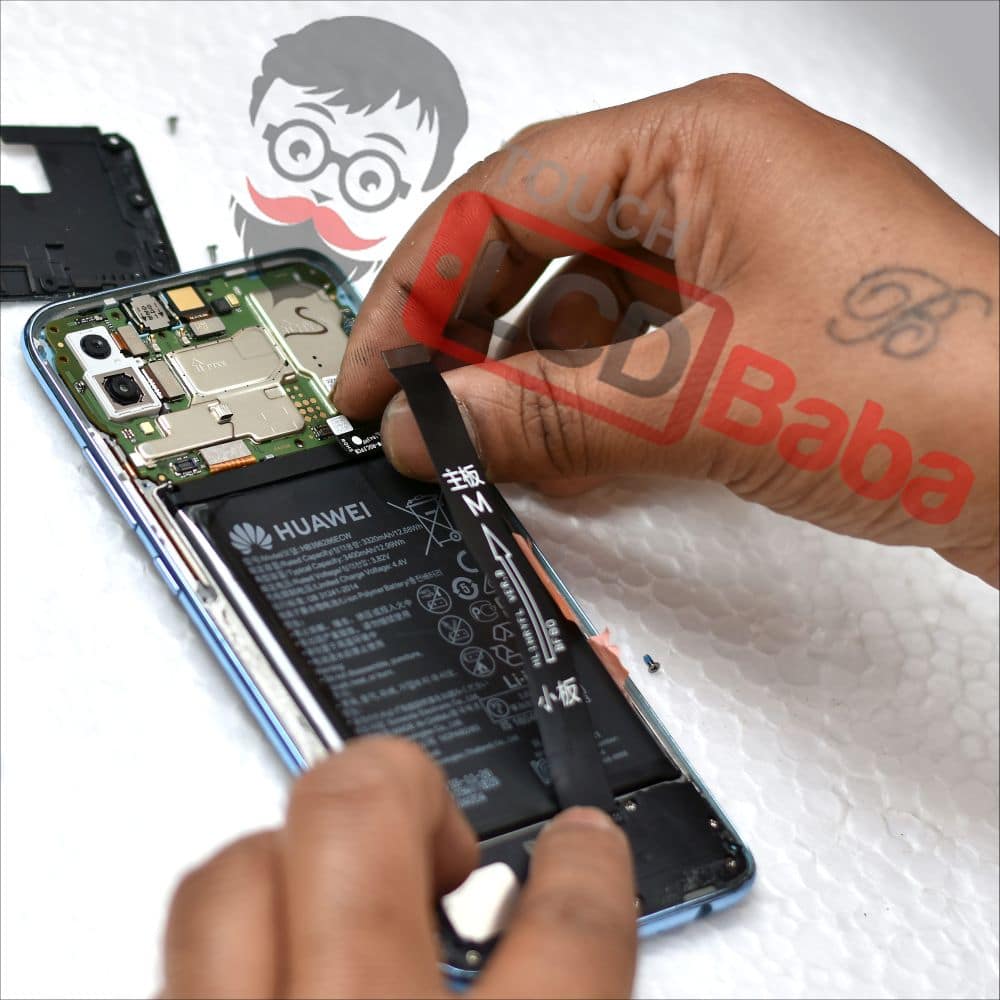
Step No. 4
Depart the Honor 10 Lite combo connection from the motherboard. Remove the jack slowly and carefully. Always be gentle and soft when repairing a broken Honor 10 Lite display.
Step No. 5
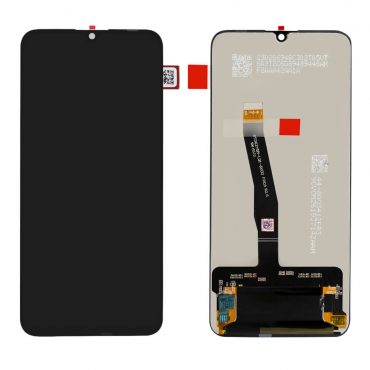
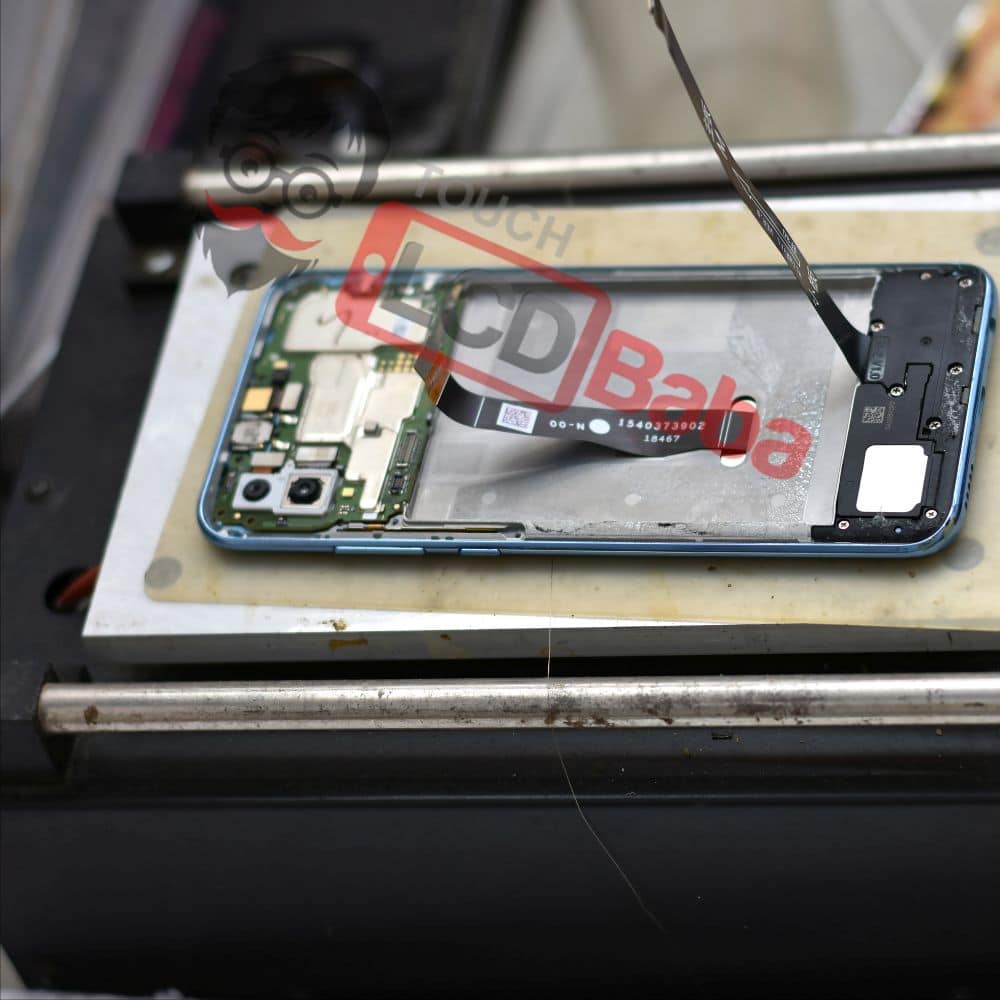
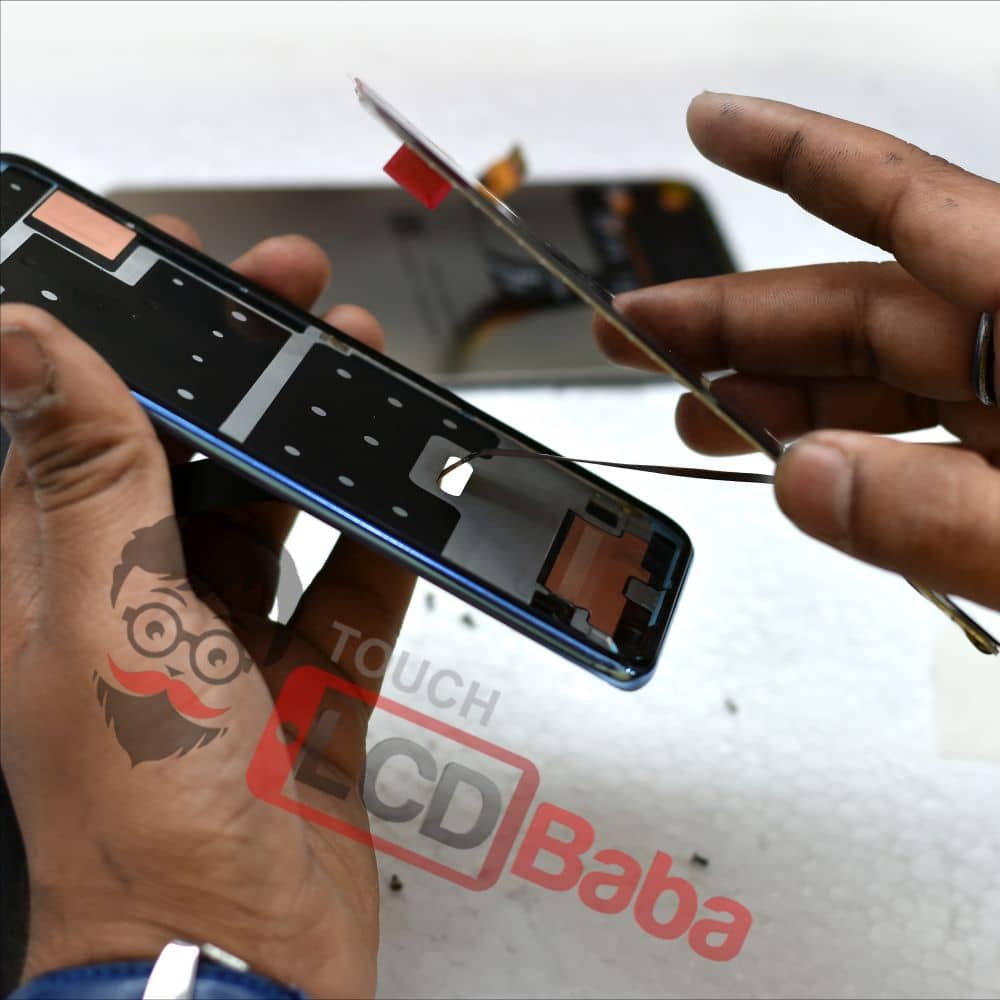
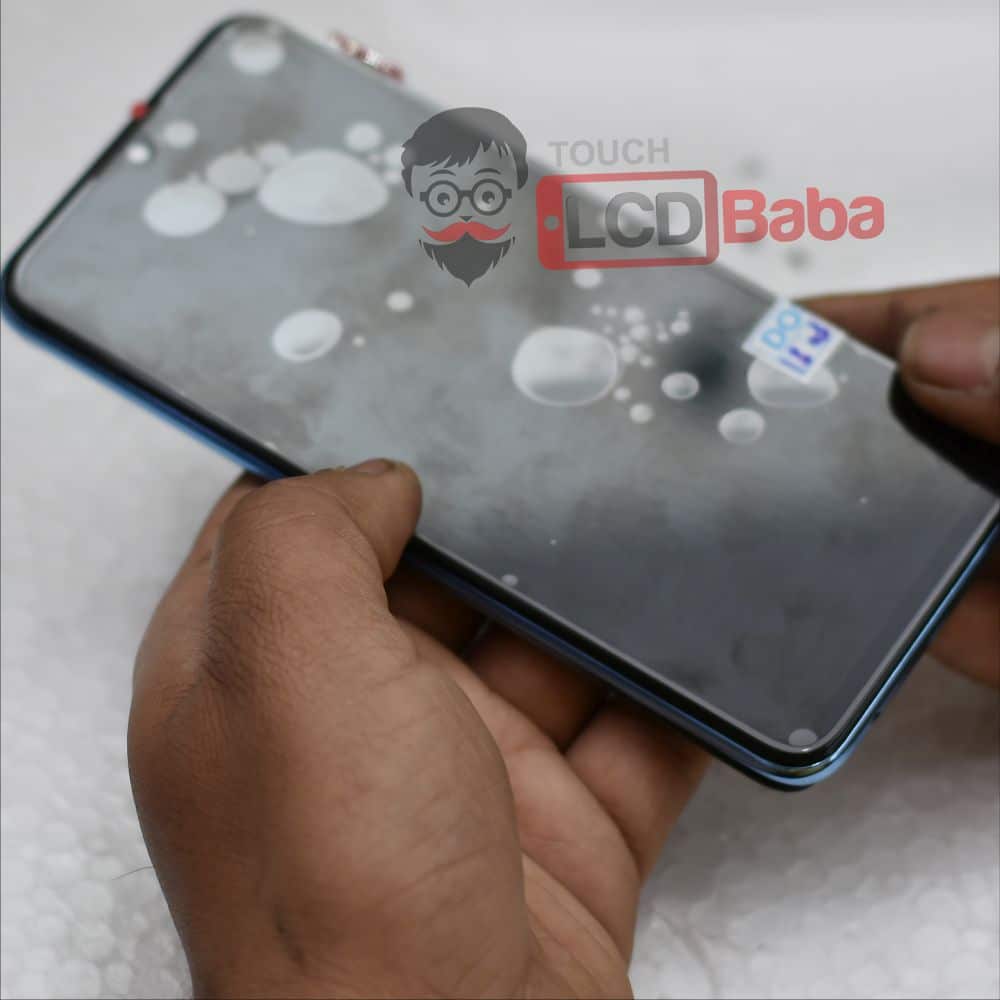
The next steps will be removing the broken Honor 10 Lite display from your phone and there are several ways of doing that. You can blow hot air on the combo from the front side and slowly take it out using the plastic cards. Another approach is heating up the front side of a separator machine at a controlled temperature.
Step No. 6
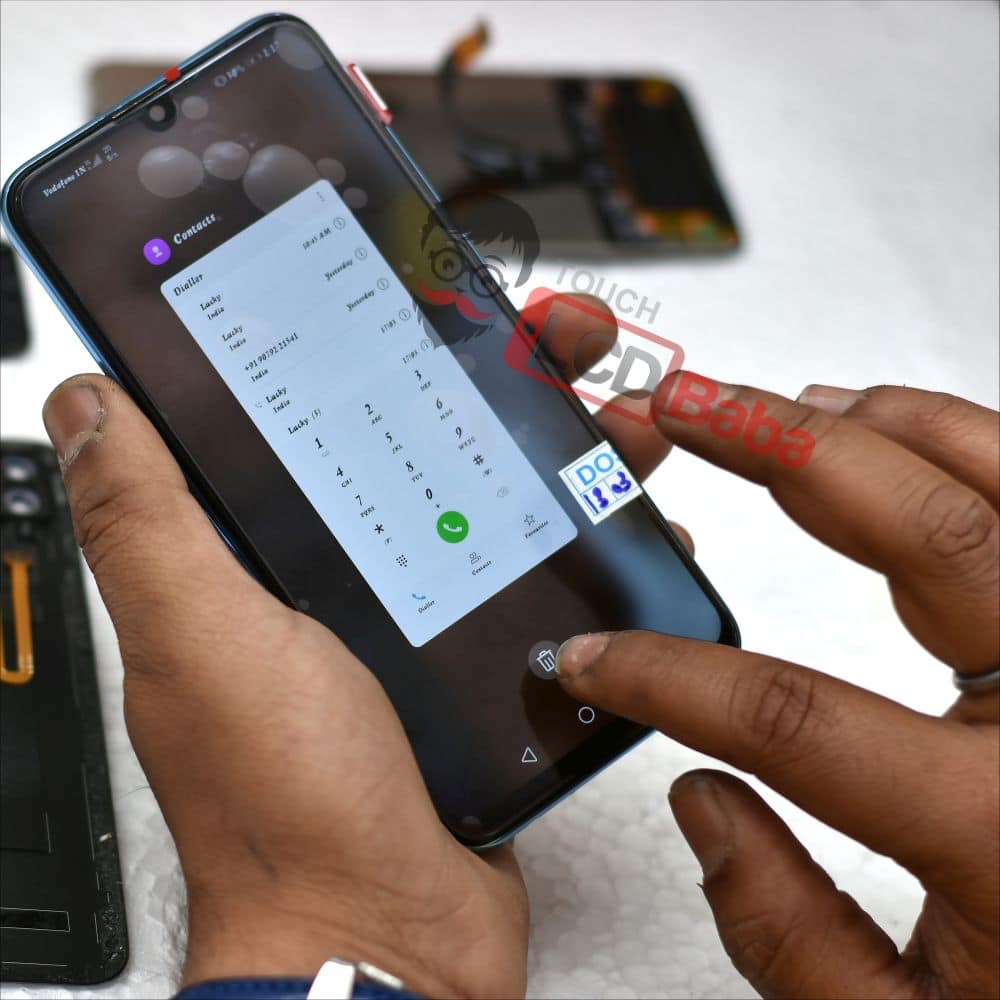
The next step will be testing a new Honor 10 Lite Combo. Always keep in mind that testing a screen is a mandatory requirement before fixing it permanently and this is how we test every screen in Touch LCD Baba. It is always a wise idea to test the Honor 10 Lite screen before fixing it permanently. This is because you can’t return a used screen back to any vendor but any unused screen can be returned which is not pasted and the screen guard is not removed. 100% Original combo of Honor 10 Lite is available here
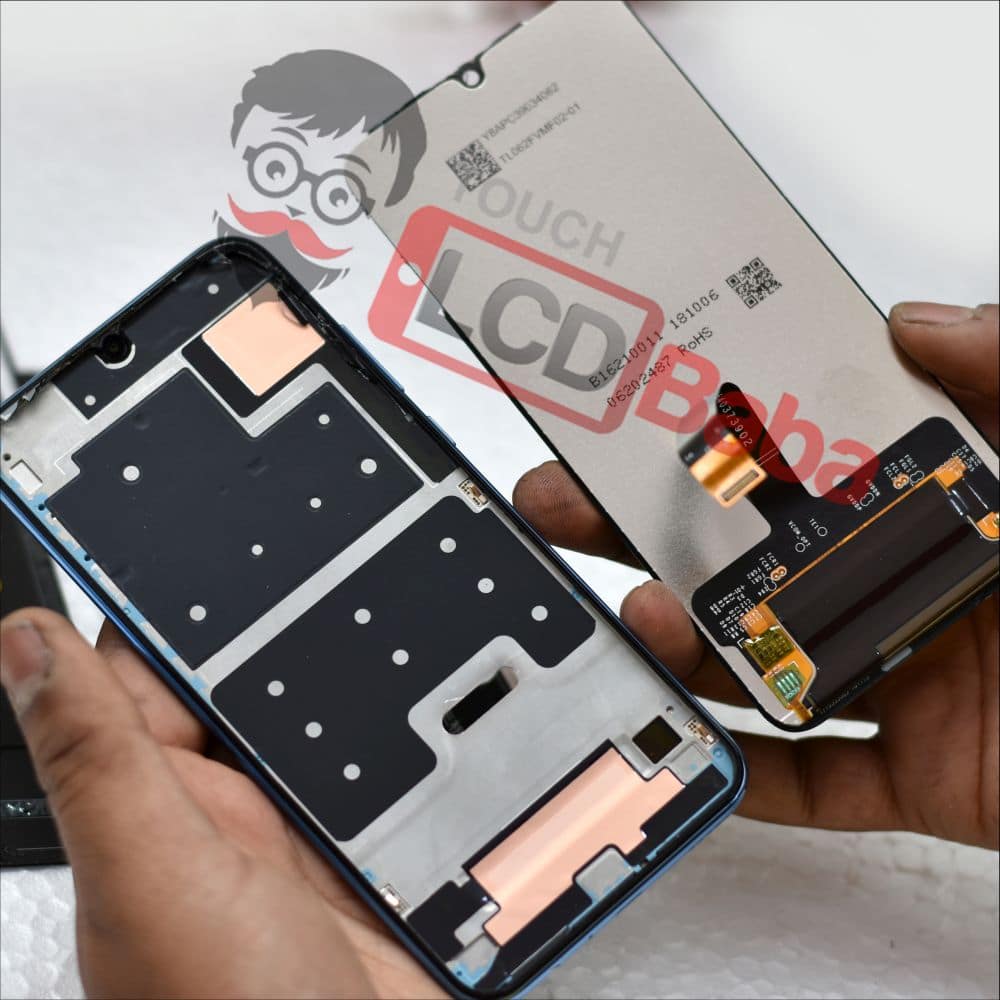
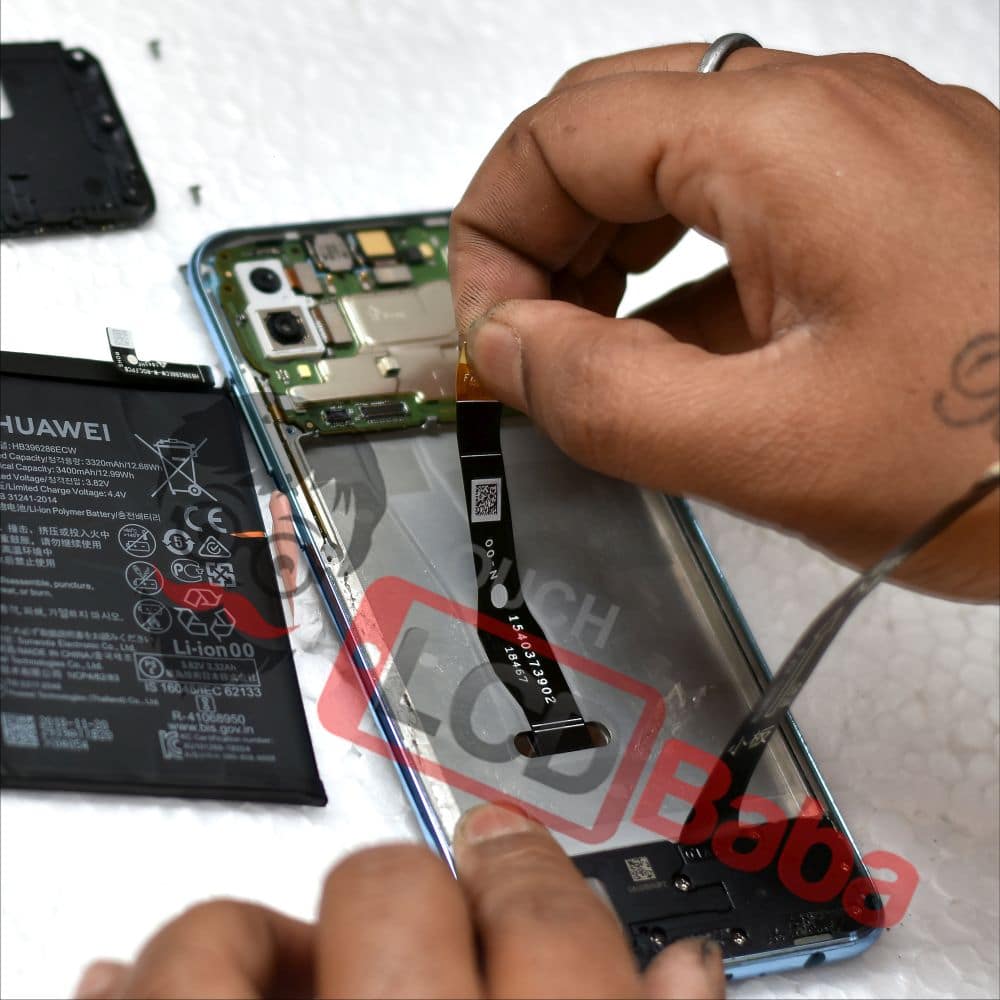
To test a new Honor 10 Lite Combo, you need to insert the combo’s flex cable from the front and connect its cable to the motherboard in open condition. In front of the frame, there is a cut to insert the flex cable as shown below.


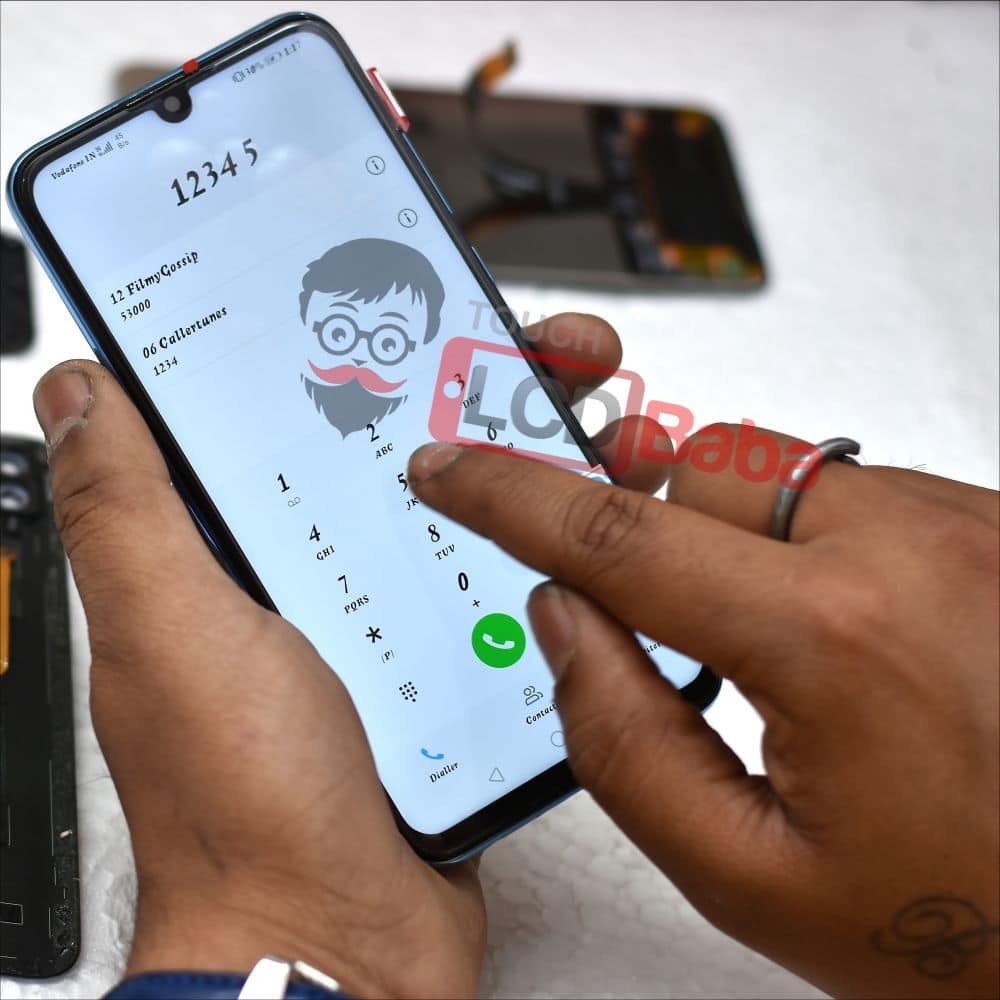
Step No. 7
Connect Honor 10 Lite Combo’s flex cable to the motherboard as well as connect the battery to the motherboard. This is to test the new combo to your satisfaction. There is no need to fix the combo before you have tested it. Be gentle when you are testing the combo and don’t flex cables too much.
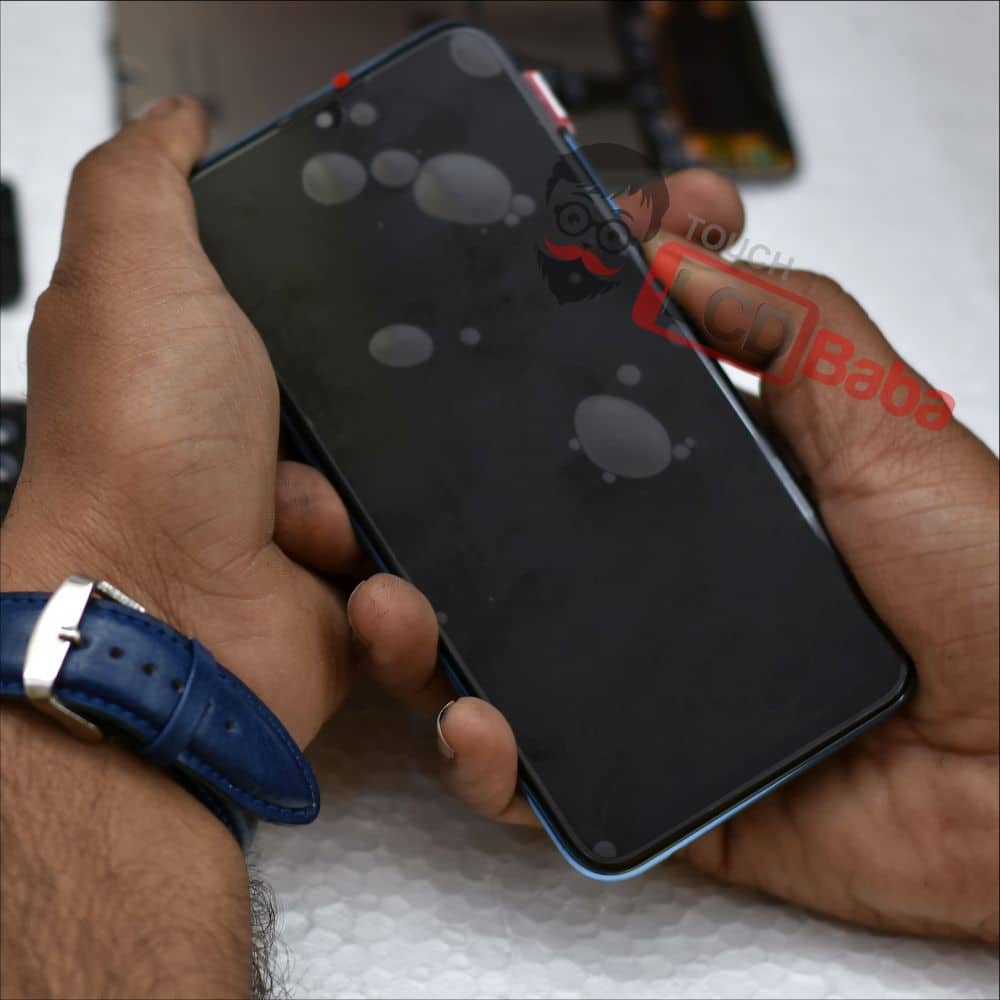
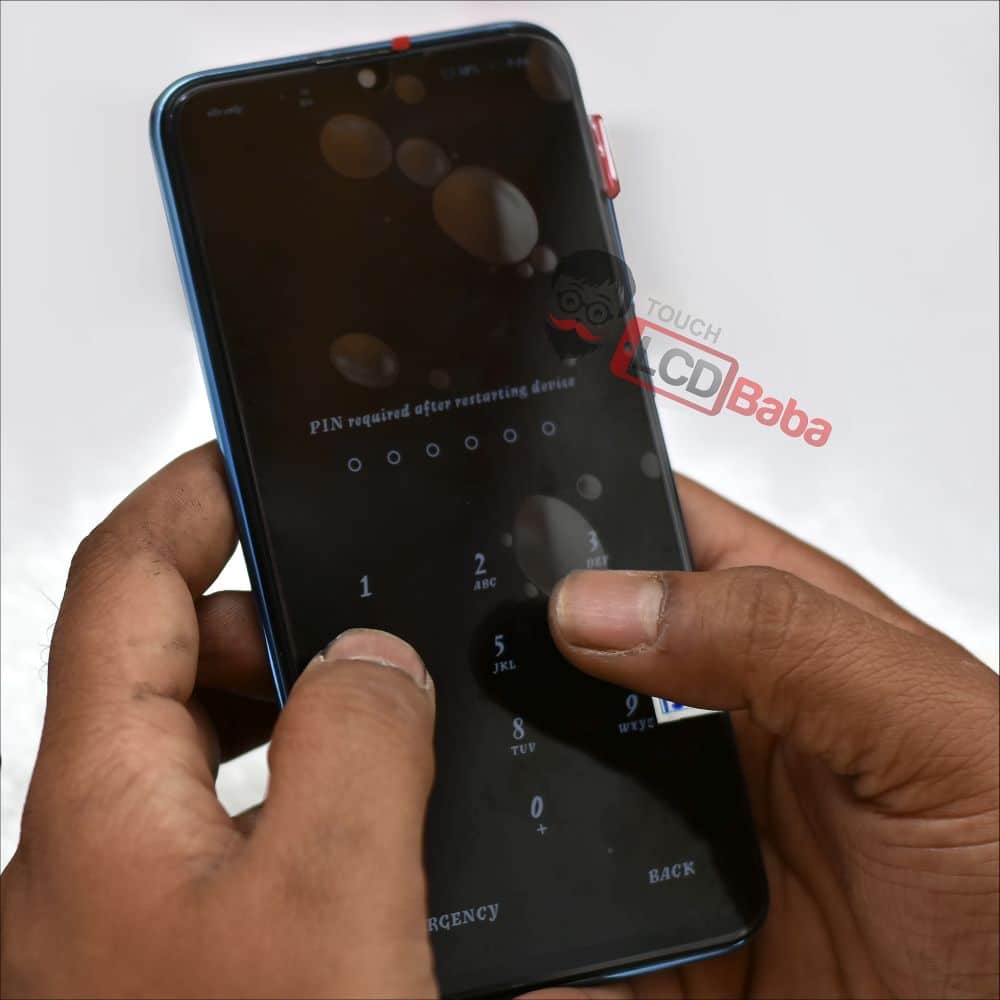
Step No. 8
Hold the phone in your hands and turn it on as you usually do. If all the connections to motherboard are OK, new combo will boot up normally. You should feel vibration in your hands when you are trying to boot up the phone.

Step No. 9
When you are satisfied with the performance of the screen, now you can paste it in the frame. To paste the display, you can use glue or double tapes. You simply need to place the glue all around in the frame evenly and then past the screen. Don’t use large amounts of glue to paste the display as too much glue can go inside the display. Always use glue as required.
Apply glue all around the metal frame in which you will paste the display. Don’t apply the glue to display directly but apply the glue in frame and then paste the display.
Step No. 10
After pasting the display, place all the things in the same place as you removed. You will need to paste the Honor 10 Lite back panel again. For that you an use the same glue you used to paste the display.
Again, don’t apply large amounts of glue and paste carefully. After pasting the display and the back panel, you can fasten rubber bands all over the phone so that things can stick properly. PLEASE make sure that you don’t tighten the rubber bands way to much as that can turn the display yellowish. If you have any questions, please feel free to ask.